
How to Install Antique Thin Brick Veneer
Blog is for reference only. Qualified professionals should be consulted on a project specific basis.
Our antique thin brick veneer will bring authenticity and historic character to your interior project. Whether you are installing the used thin brick veneer for an accent wall, backsplash, wine cellar, or man-cave… you need to know where to start and how to install it! This blog dives into the step-by-step instructions outlined by one of our best brick mason/veneer installers:
Setting Antique Thin Brick Veneer
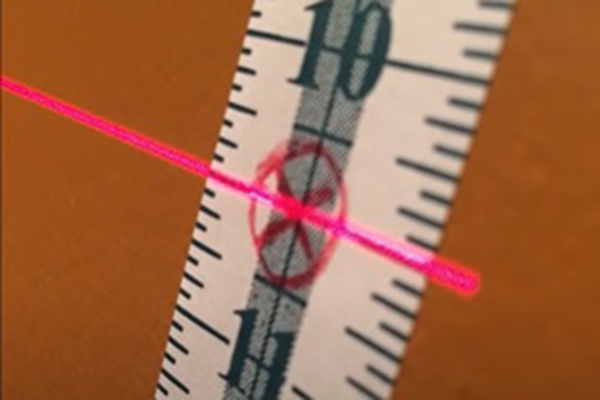
1. Measure your project area for your antique thin brick veneer design and draft up lines on the wall for reference. Use a laser level for the best result. At the beginning of your project, there are a lot of questions to answer. We understand it can be overwhelming to think about all these questions before you start your antique thin brick veneer installation. For more helpful tips, check out or blog: DIY Thin Brick Veneer Wall - Where do I Start?
2. After prepping your project area, layout your reclaimed thin brick veneer material before the installation starts. Looking at the color mix is very important to the final product! Consider the different colors, light vs dark shades, etc. Spread these antique thin brick veneers out evenly to avoid being a heckerboard/patterned look. By laying the reclaimed bricks out, you will see how many outside corners OR cuts need to be made using a wet saw.
3. Whether you are using a construction adhesive or a thin-set, apply it to the back of the old thin brick veneer to start your first row. We recommend starting in a corner, working from top to bottom. This allows the installer to cover any cut brick course at the bottom behind the base molding. Stick the antique veneer to the wall following the measurement marks you made on the project area.

NOTE: If there are outside corner brick tile pieces, make sure to alternate as shown below.
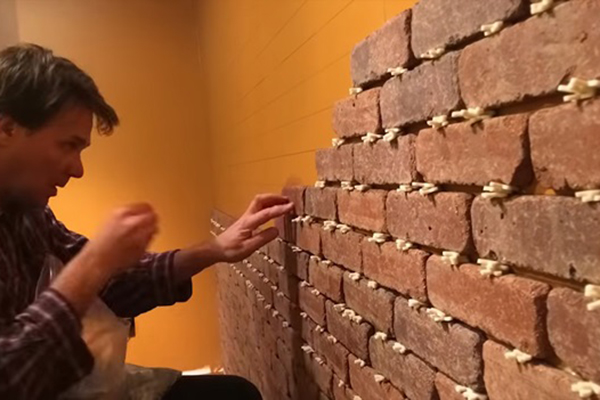
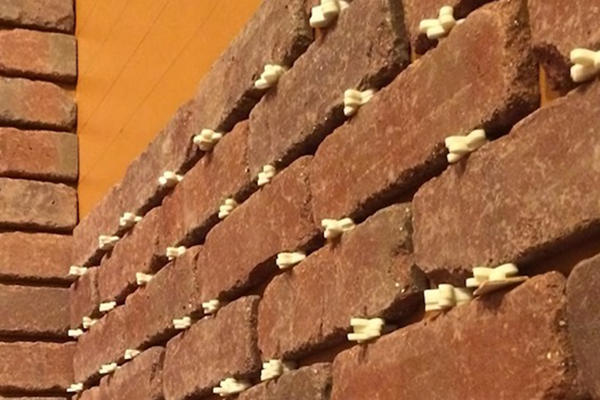
4. After the first row of reclaimed brick tile is stuck to the wall, continue to the next row and make sure to use spacers or a thin piece of wood between used bricks for consistent, equal mortar joints. Once you apply 5 to 6 rows, let the adhesive cure and then take out the spacers/wood before moving to the rest of the project area.
5. Fill in all open areas with short/cut antique thin brick tiles to complete used brick veneer installation application within project area. It will take 15-25 minutes to adhere, depending on the product used and environment of project area. Allow the adhesive to complete dry before removing spacers. Now, you are ready for mortar grout!
Filling The Joints
1. Prepare your workspace. This can be a messy process - use a drop cloth or tape off floor prior to beginning.
2. Mix grout/joint material. Make sure the grout is mixed well, not too runny but will push between cracks or squeeze out of bag. For this blog, we will not be using a grout bag. NOTE: this is very time consuming. Take your time and do it correctly – cleanest, best approach.
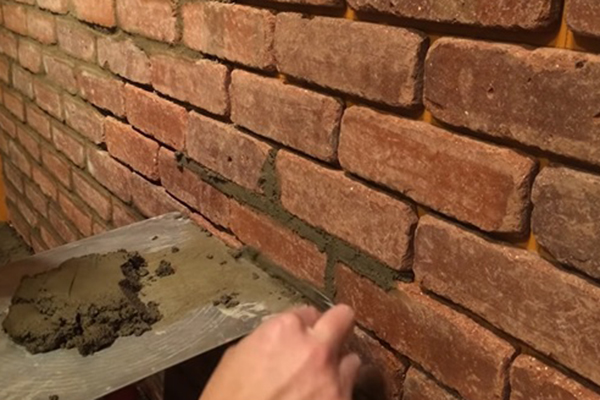
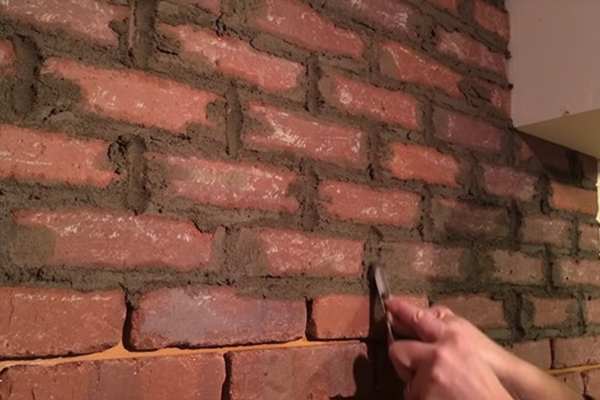
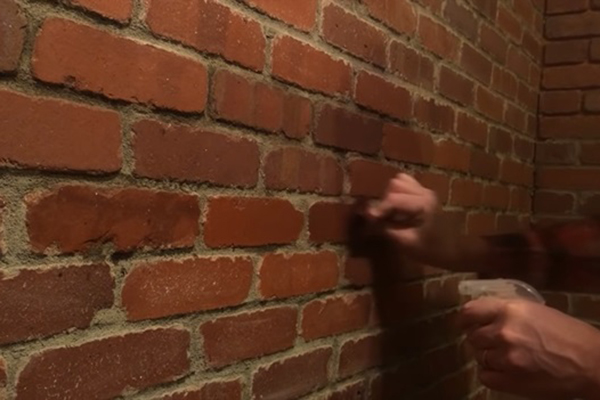
3. Wait 10-15 minutes for grout to harden slightly. Using a trowel, press into the small spaces between the antique brick veneers to groove the mortar along joints and rub excess out to refine brick edges on your wall. Do the vertical joints first then horizontal, scooping out excess and letting it fall to the ground.
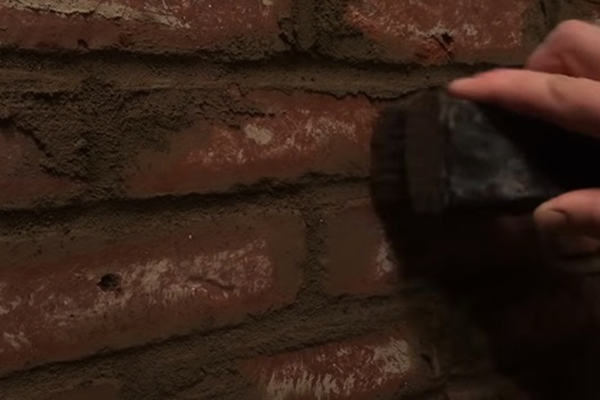
4. After joint material sits for another 15-20 minutes, use hard plastic or wire brush to rub at 45 degree angle and get granular off the brick Use a stiff brush, excess mortar off the used, thin brick veneer.
5. Using a wet sponge, wipe the face of the antique tin brick veneer to remove any excess mortar off the face of the brick. Try not to wipe too hard over the mortar joints or it will make sponge very dirty. Always change to a new section of the sponge for best result while cleaning your historic brick faces.
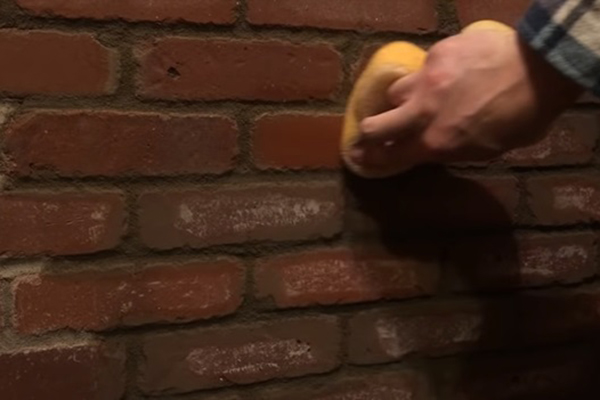
6. After 24 hours, once mortar has dried, use a spray bottle of vinegar (or acidic solution) and scrub brush to make sure the face of the reclaimed brick is as clean as possible. By using vinegar or an acidic liquid, the solution will clean the face of the historic brick veneer for the best result for your project.
7. Done! At this time, you can also consider a brick finish type – natural brick, white washed brick, painted brick, or sealed (depending on where the accent wall is installed). Plan on this overall process taking ~6 sqft per hour.
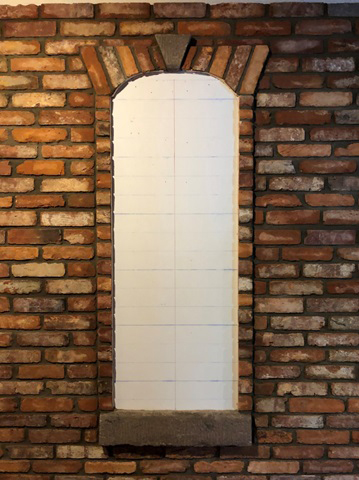
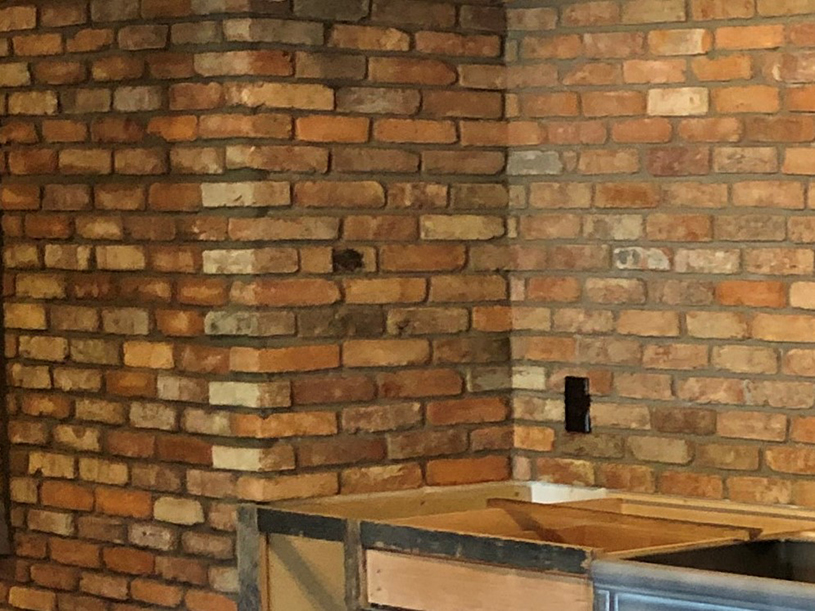
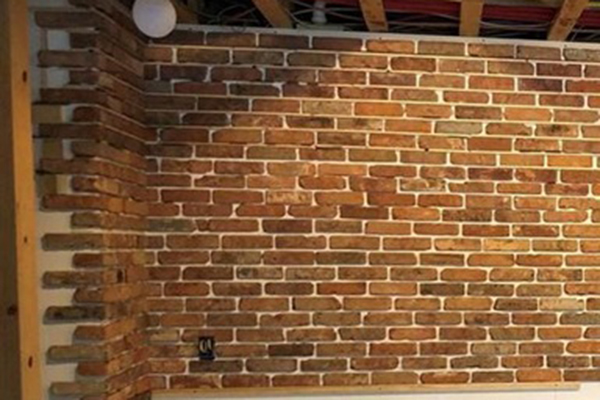
A finished thin brick veneer wall with a faux window using a reclaimed medina stone sill
Visual Guidance
If you would like to see a visual representation of these step-by-step instructions, we highly recommend watching this video for additional helpful tips: https://www.youtube.com/watch?v=E4vIiZFAJTw
 Experienced Brick and Stone